Picture a mathematics teacher halfway through a proof. The chalk is moving, the argument is building line by line on the board, and the students are following the hand, not the face. Now picture an editor, or a piece of software, deciding that this is a good moment for a cutaway to a stock photograph of a calculator.
It is the most common way post-production damages a lecture, and it comes from treating every lecture as the same kind of video. They are not. A lecture filmed against a green screen, a class captured by a camera at the back of a room, and a screen recording of someone writing code are three different objects, and the things that make one of them better can ruin another.
So before asking which effects to add, ask a simpler question about every few seconds of a recording: is the teacher telling right now, or showing?
Telling, showing, and dead time
Every lecture, whatever its format, alternates between three kinds of moment.
The words carry the lesson
The teacher is explaining, telling a story or making an argument, and what the camera sees adds little. This is where production earns its keep: slides that build with the argument, a cutaway that makes an abstract sentence concrete, a change of layout that resets attention.
The picture is the lesson
Writing on a board, solving on paper, a software demonstration, a finger on a diagram, a step in a lab. Here the rule reverses: protect the frame. No cutaways, no layout swaps, nothing laid over the working area. The only help is making it easier to see.
Nothing is being taught
Setting up, finding the clicker, waiting for software to load, erasing the board, calling the register. It should be shortened or removed — carefully, because silent writing is not dead time.
Get the classification right and most decisions make themselves. Get it wrong and even good effects do harm: an animated slide over a derivation, captions sitting on top of the last line of code, a teaching-visual clip covering the exact moment the reagent changes colour.
What never gets in the way
A handful of improvements help every format and never compete with the picture. They are the baseline for any recording, whatever it is:
Cleanup. Dead air, false starts and the minute of settling in are removed without cutting a word that was said.
Studio sound. Fan hum, room echo and uneven levels are the single biggest reason recorded lectures feel amateur, and the easiest to fix.
Captions, placed intelligently. Word-accurate, with a transcript and caption files. On board or screen footage they move to the quietest part of the frame instead of sitting on the content.
Branding and structure. A logo in a corner that is clear of the working area, a title card, learning objectives at the start, takeaways at the end, chapters throughout.
Fourteen formats, and what each one needs
Here is how that plays out across the formats we see most often. The middle column is what can be added; the right-hand column is what must be protected.
| Format | What helps | Leave alone |
|---|---|---|
| Green-screen studioThe teacher keyed onto a clean plate | The full toolkit: presenter beside animated slides, full animated sections, drawn, photographic and stock cutaways | Nothing — the frame is fully controlled |
| Talking head, real roomWebcam, office, bookshelf | Separating the teacher from the room so the same layouts work without a green screen; or keeping the room and blurring, reframing, colour-correcting it | — |
| Chalk and talkWhiteboard or blackboard close-up | Board clean-up (glare, contrast, perspective); a virtual camera that follows the writing; the teacher made see-through where they block the board; the full board held for a beat before it is erased | The board while writing is happening |
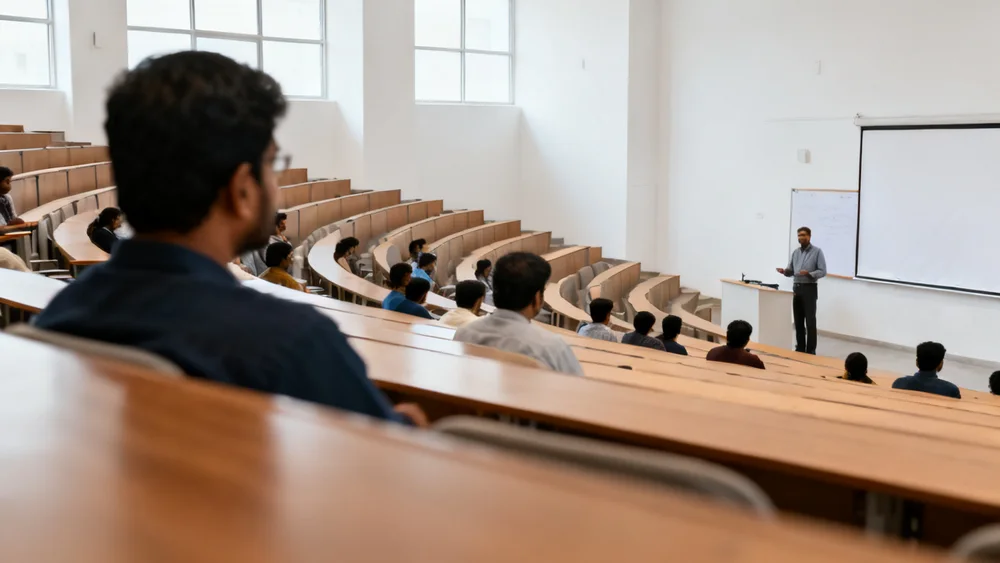
| Classroom captureWide camera at the back of the room | Automatic reframing onto the teacher; switching to board or projector when they are referred to; the washed-out projector replaced with the crisp slide from the deck; students' faces blurred | The board or projector when it is being discussed |
| Slides with voiceoverA narrated presentation | Slides re-rendered sharp; bullets built in as they are spoken; zoom to the region under discussion; text-heavy slides rebuilt as animation | Any diagram, chart or equation being walked through |
| ScreencastSoftware, spreadsheets, code | Auto-zoom to where the work is happening; cursor smoothing and click highlights; waiting and loading time removed; private details blurred | The working area of the screen, always |
| Digital penTablet or pen display | App clutter cropped away; zoom toward the active line; a snapshot of each finished page as a recap | The ink as it appears |
| Document cameraPaper under an overhead camera | Stabilising, straightening the page, removing glare and hand shadow, zooming to the active line | The page and the hand |
| LightboardWriting on glass | Correcting mirrored footage; lifting contrast on the glowing ink | The writing |
| SmartboardInteractive panel with annotation | As for the digital pen, plus reframing onto the panel | The annotations |
| Lab or practicalEquipment, hands, experiments | Stabilising handheld footage; zoom on the hands; numbered steps and labels on equipment; a slow replay of the key moment; safety cards | The action — cutaways almost never belong here |
| Webinar or panelTwo to five speakers | A layout that follows whoever is speaking; names on screen; crosstalk and "you're on mute" removed; chapters by question | The speaker who is talking |
| Phone or verticalA selfie video, often 9:16 | Stabilising and audio first; a branded frame with side panels for a widescreen version; short vertical clips as a second output | The teacher and anything they point to |
| Audio onlyA recorded talk with no usable picture | Every visual built from the words: animated slides, drawn and stock cutaways | — but never an invented face for the speaker |
The board is the hard case
Chalk-and-talk deserves a closer look, because it is where the rule matters most and where a lot of the world's best teaching still happens. A good board lecture is already a produced object: the teacher has planned the layout of the board, the order of the writing and the pauses. Covering any of it with a graphic is not an enhancement. It is an interruption.
What a board lecture actually needs is help with legibility. Writing that was clear to a student in the third row is a grey smudge on a phone screen. So the useful work is almost all about the image of the board itself:
Help people see it
- Straighten the board and even out the lighting
- Lift chalk off a green board; kill whiteboard glare
- Follow the writing with a slow virtual camera, then pull back
- Make the teacher semi-transparent when they stand in front of what they just wrote
- Move captions off the board, or slim them right down
Never do this
- Cut away to a teaching visual or an animated slide
- Switch to a layout that shrinks the board
- Lay graphics, lower thirds or a logo over the working area
- Cut out silent writing because nobody is speaking
Two smaller touches go a long way. Just before the board is wiped, hold the finished board on screen for a couple of seconds while the voice carries on — students always want one more look. And keep those finished boards: together they are a set of notes the student can download, which no amount of animation can replace.
The telling moments still exist in a board lecture — when the teacher turns to the class and explains why the result matters. That is where a single well-chosen cutaway or a key-point card can go. Sparingly, and never in the middle of a derivation.
Where Lecture Studio is today
We would rather say this plainly than let a page of formats imply otherwise. The full toolkit — the presenter layouts, the animated lecture, the four kinds of cutaway — was built on green-screen recordings, because that is where a pipeline controls every pixel of the frame. Cleanup, studio sound, captions, branding and the bookend cards already work on any recording.
The rest of this piece is the order we are building in: taking the teacher off an ordinary background first, because that brings the whole toolkit to most of the world's footage; then recognising when the teacher is showing rather than telling, so boards, pages and screens are protected and brought closer instead of covered; then swapping blurry projector footage for the real slides. Each step extends the same rule to more of what people actually record.
If you are not sure which format your recordings are, send one. We will tell you honestly what the pipeline can do with it today, and turn it into a studio-quality cut in one click. Send a lecture →